Auto Detailing Tips and Tricks for DIY Enthusiasts: Get Your Car Looking Brand New
Auto detailing is an essential part of car maintenance that often gets overlooked. It doesn't just make your car look great, but it also preserves the value of your vehicle over time. For DIY enthusiasts, auto detailing can be a fun and rewarding project. In this article, we will discuss some auto detailing tips and tricks that will help you achieve professional results without breaking the bank. So, let's dive in!
- Gather the right tools and materials
The first step in any DIY project is to gather the right tools and materials. For auto detailing, you'll need a variety of cleaning products, brushes, towels, and other supplies. Some essentials include:
- Microfiber towels
- Car wash soap
- Glass cleaner
- Wheel cleaner
- Tire shine
- Leather cleaner and conditioner (if applicable)
- Detailing clay
- Wax or sealant
2. Pre-wash your vehicle
Start by giving your car a thorough pre-wash. This will help remove dirt, grime, and other contaminants that could scratch your paint during the detailing process. Use a pressure washer or a garden hose with a spray nozzle to rinse off your vehicle from top to bottom. Make sure to get into all the nooks and crannies, including the wheel wells and undercarriage.
3. Wash your car with the two-bucket method
The two-bucket method is a popular technique among detailing enthusiasts. It involves using one bucket filled with soapy water and another with clean water for rinsing your wash mitt or sponge. This prevents you from reintroducing dirt and contaminants back onto your car's paint, which can cause scratches and swirl marks. Be sure to start washing from the top down, working in sections to avoid water spots.
4. Clean the wheels and tires
Wheels and tires often accumulate dirt, brake dust, and other grime that can be challenging to remove. Use a dedicated wheel cleaner and a stiff brush to scrub away the built-up dirt and grime. Rinse thoroughly and apply a tire shine product for a glossy, finished appearance.
5. Use detailing clay to remove embedded contaminants
Detailing clay is an essential step in achieving a smooth, clean paint surface. It works by lifting and removing embedded contaminants such as tree sap, tar, and brake dust from your car's paint. After washing your vehicle, spray a clay lubricant on a small section of the paint, and gently glide the clay bar across the surface. Fold and knead the clay regularly to expose a clean surface, and repeat the process until the entire car is free of contaminants.
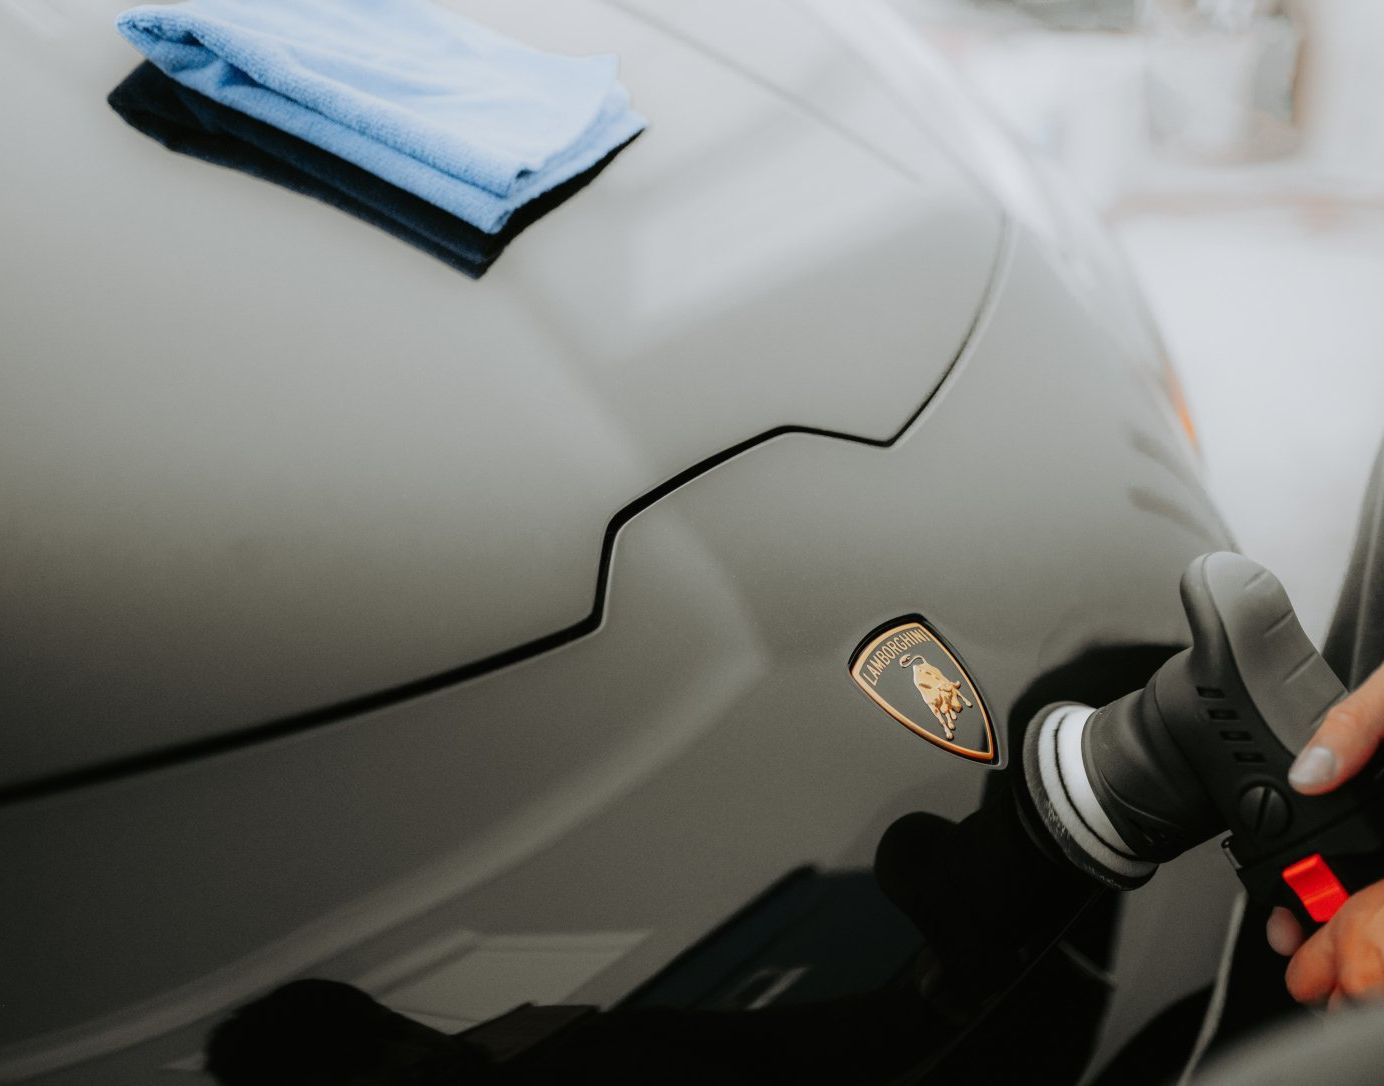
6. Polish and wax for a high-gloss finish
Polishing and waxing are the final steps to achieve a high-gloss, showroom-quality finish. Polishing removes minor scratches and swirl marks, while waxing adds a layer of protection to your paint. You can use a dual-action polisher or apply these products by hand. Always follow the manufacturer's instructions and work on one section at a time.
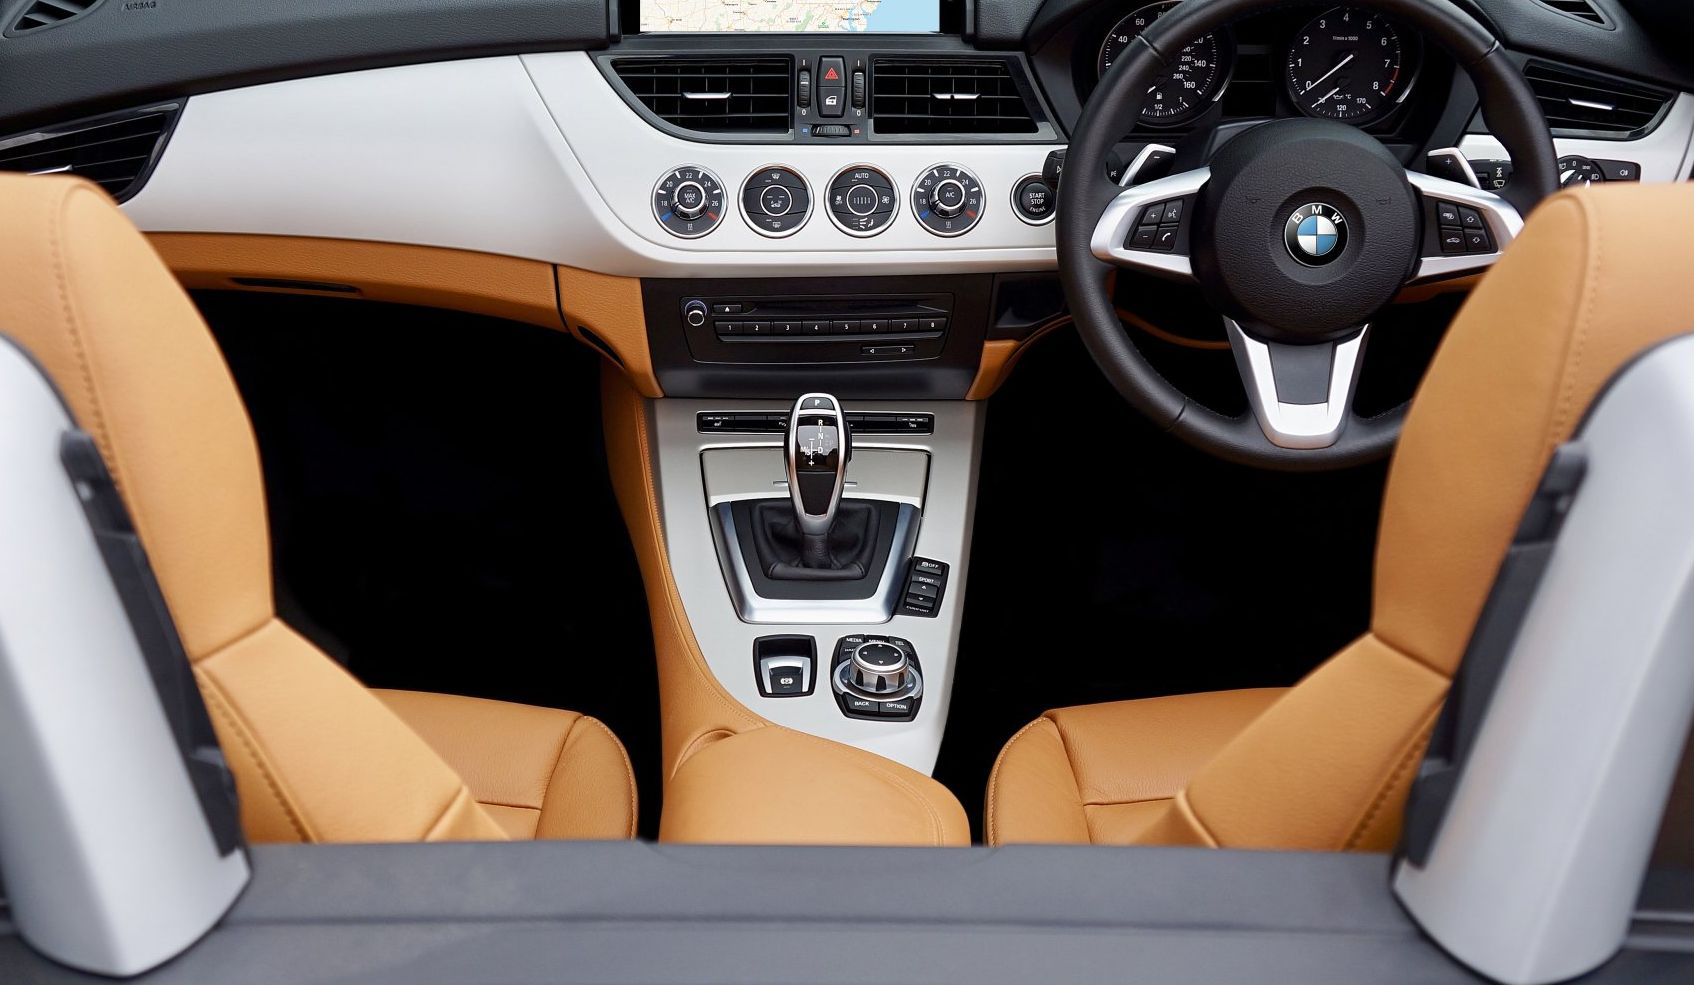
7. Pay attention to the interior
A thorough auto detailing job includes taking care of the interior as well. Vacuum the carpets, seats, and trunk to remove dirt and debris. Clean and condition leather seats if you have them, and use an upholstery cleaner for fabric seats. Wipe down the dashboard, center console, and door panels with a dedicated interior cleaner. Finish by cleaning the windows and mirrors with a streak-free glass cleaner.
Auto detailing can be a fun and rewarding DIY project that keeps your car looking its best. With the right tools, materials, and techniques, you can achieve professional results and preserve your vehicle's value over time. Remember to work methodically, be patient, and pay attention to detail for the best possible outcome. By following these tips and tricks, you'll be well on your way to becoming an expert in DIY auto detailing. Happy detailing!
.
You might also like